How to Clean Your Motorcycle Chain Like a Pro: A Simple Step-by-Step Guide
When you ride frequently, your motorcycle chain naturally accumulates dust, mud, and highway grime. This buildup increases friction, reduces mileage, strains the engine, and accelerates wear and tear — ultimately costing you more in maintenance.
That’s why regular chain cleaning is one of the most important aspects of motorcycle care. A properly cleaned and lubricated chain not only boosts performance but also improves riding comfort and safety.
Below is a complete guide explaining the tools you’ll need and the right step-by-step process to clean your motorcycle chain effectively.
Tools Required for Cleaning a Motorcycle Chain
Here’s what you’ll need:
-
Motorcycle Chain Cleaning Brush: A three-sided brush designed to reach all sides of the chain for effortless cleaning.
-
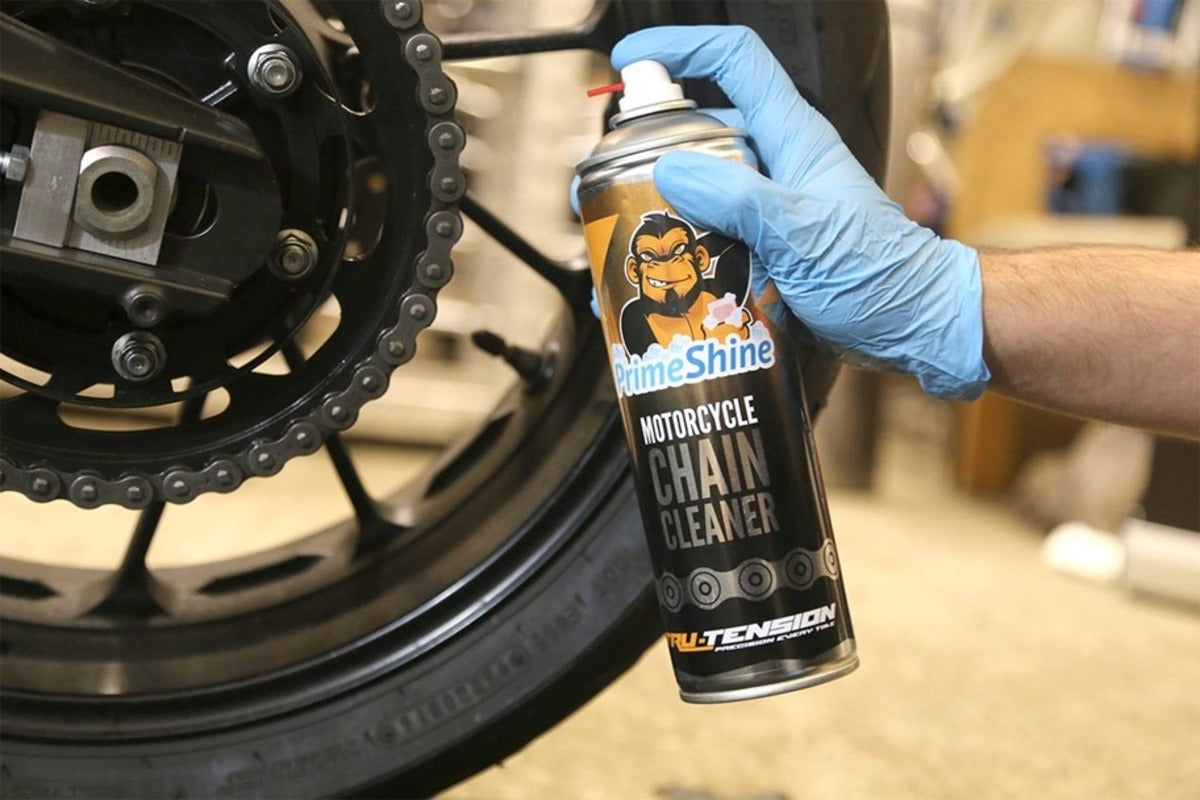
Chain Cleaner Spray: A dedicated degreaser that loosens stuck grease and grime with just a spray.
-
Motorcycle Chain Lubricant: A lube that protects the chain from rust, reduces friction, and enhances performance.
-
Microfiber Cloth: Used for wiping off dirt, grease, or excess lubricant without scratching metal surfaces.
Step-By-Step Guide to Cleaning a Motorcycle Chain
Step 1: Identify Your Chain Type
Before you begin, determine what type of chain your motorcycle uses:
-
Standard Roller Chain – Basic chain type used in many commuter bikes.
-
O-Ring Chain – Contains rubber O-rings to retain lubrication.
-
X-Ring Chain – Similar to O-ring but uses an X-shaped seal for better durability.
-
Sealed X-Ring Chain – Enhanced sealing for improved longevity and performance.
Step 2: Mount Your Bike on a Stand
Place your motorcycle on a rear paddock stand or single-sided stand to lift the rear wheel. This allows smooth wheel rotation for easier cleaning and lubrication.

Step 3: Inspect the Drivetrain and Sprockets
Before cleaning, visually inspect your chain and sprockets for:
-
Rust, bends, missing teeth, or unusual wear
-
Correct chain tension (neither too tight nor too loose)
-
Condition of rollers, pins, and side plates
Early detection saves you from bigger repair bills.
Step 4: Apply Chain Cleaner
-
Shake the chain cleaner spray can.
-
Spray evenly across the chain, covering all sides.
-
Let the cleaner sit for 2–3 minutes to break down old grease and dirt.
Step 5: Scrub the Chain
Using the chain cleaning brush:
-
Scrub the chain gently but thoroughly.
-
Cover small sections at a time for the best results.
-
Repeat if the chain is extremely dirty.

Step 6: Rinse the Chain
Use a light flow of water to wash away the dissolved grime. Avoid high-pressure jets that can damage seals. You may rub gently with your hands to remove remaining deposits.
Step 7: Dry the Chain and Sprockets
-
Let the bike sit in sunlight or blow dry if needed.
-
Wipe with a microfiber cloth to remove remaining moisture.
Step 8: Lubricate the Chain
-
Rotate the wheel slowly and spray chain lube evenly on the top and inside surfaces.
-
Allow the lubricant to settle and penetrate.
-
Wipe off excess to prevent splashing on the tire.
Now your chain is clean, protected, and ready for a smooth ride.

Conclusion
Whether you ride occasionally or daily, regular chain maintenance offers noticeable benefits — smoother power delivery, better mileage, improved safety, and longer chain life. A little care today saves a lot of repair costs tomorrow.


Leave a comment
This site is protected by hCaptcha and the hCaptcha Privacy Policy and Terms of Service apply.