
How to Store Your Motorcycle Riding Gear Properly After a Rain Ride
Rain is an unavoidable part of motorcycling, especially during the monsoon season or on long-distance tours. While modern riding gear is designed to handle wet conditions, what you do after the ride is just as important as how you ride in the rain.
Simply throwing your wet jacket, gloves, or boots into a corner can lead to unpleasant odours, mould, damaged waterproof membranes, and even a shorter lifespan for your gear.
If you've invested in quality riding equipment, here's how to store it properly after a rain ride to keep it performing at its best.
Why Proper Storage Matters
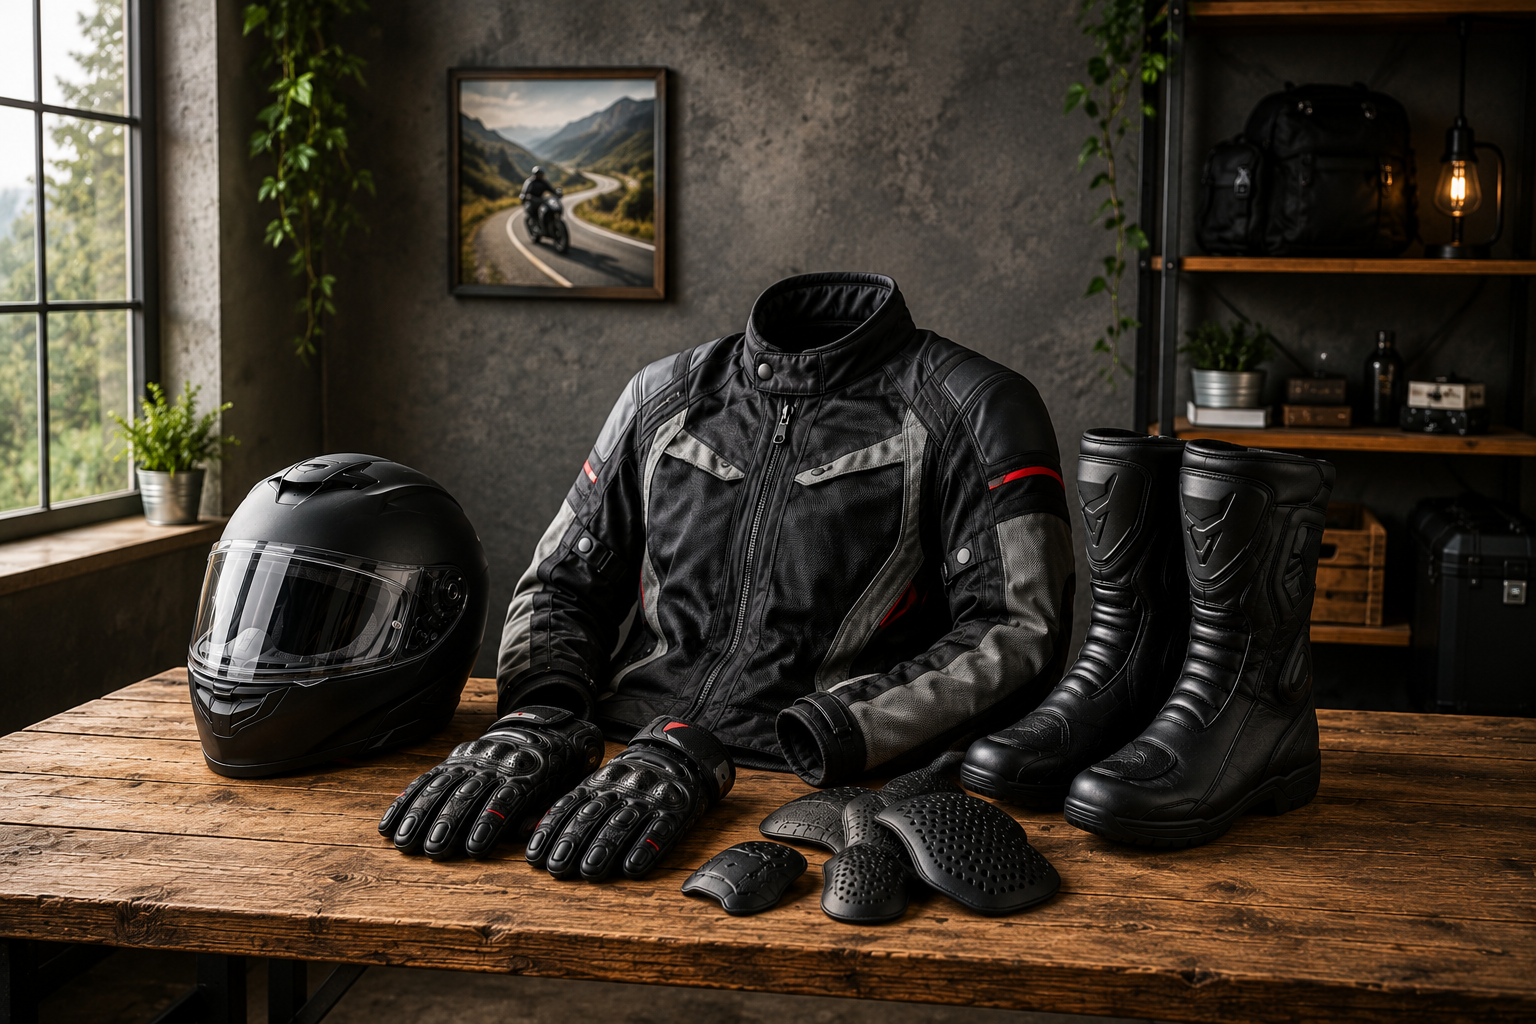
Motorcycle riding gear is built with technical materials like waterproof membranes, breathable fabrics, leather panels, impact armour, and moisture-wicking liners. These materials require proper care to maintain their protective properties.
Storing wet gear incorrectly can cause:
- Mould and mildew growth
- Unpleasant odours
- Damage to waterproof membranes
- Leather becoming stiff or cracked
- Corrosion on zippers and metal hardware
- Reduced lifespan of your gear
A little care after each wet ride can save you from expensive replacements later.
Step 1: Remove All Dirt Before Drying
Rainwater often carries mud, road grime, oil, and dust that stick to your riding gear.
Before hanging it to dry:
- Wipe off mud with a damp microfiber cloth.
- Remove insects and road debris.
- Clean heavily soiled areas according to the manufacturer's instructions.
- Empty all pockets and remove detachable liners if applicable.
Drying dirty gear allows grime to settle deeper into the fabric, making it harder to clean later.
Step 2: Never Store Gear While It's Wet
This is the biggest mistake riders make.
Even if your jacket only feels slightly damp, moisture trapped inside can quickly lead to mildew and bad smells.
Instead:
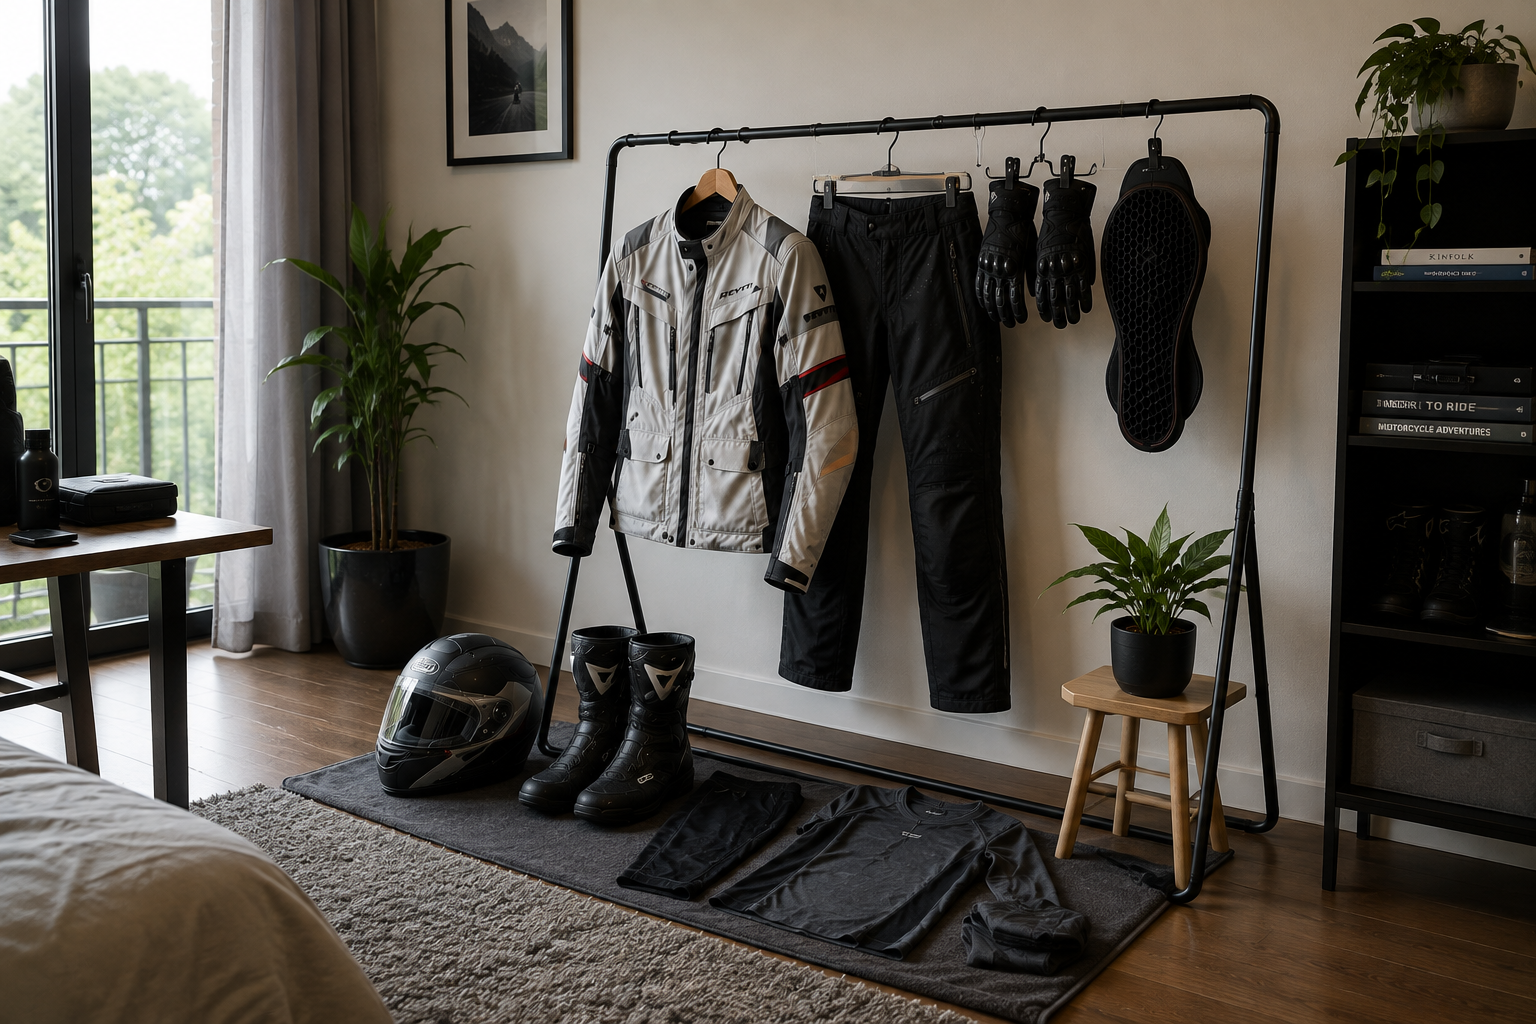
- Hang jackets and pants on wide, sturdy hangers.
- Spread gloves open to improve airflow.
- Stand boots upright with openings facing upward.
- Open all vents, cuffs, and zippers to help moisture escape.
The goal is to let air circulate around every part of the gear.
Step 3: Air Dry Naturally
Avoid the temptation to speed up drying.
Never place riding gear:
- On a heater
- Near a fireplace
- In direct sunlight for extended periods
- Inside a clothes dryer
High heat can damage waterproof membranes, weaken adhesives, shrink fabrics, and dry out leather.
Instead, dry your gear in a shaded, well-ventilated room with good airflow.
Using a fan nearby can help speed up the process without exposing the gear to damaging heat.
Step 4: Remove and Dry Internal Armour
Many riding jackets and pants feature removable shoulder, elbow, back, hip, and knee protectors.
If your gear is soaked:
- Remove the armour.
- Dry the outer shell separately.
- Allow the protectors to air dry before reinstalling them.
This helps moisture escape from areas that usually take the longest to dry.
Step 5: Take Extra Care of Leather Components
Many premium gloves, boots, and jackets include leather panels.
Leather requires special attention after getting wet.
Once it's dry:
- Apply a leather conditioner if recommended by the manufacturer.
- Avoid excessive heat.
- Never store leather while damp.
Proper conditioning helps maintain flexibility and prevents cracking over time.
Step 6: Dry Gloves the Right Way
Gloves are often the slowest item to dry because moisture gets trapped inside the fingers.
To speed up drying:
- Gently shake out excess water.
- Open the wrist closure fully.
- Hang them with the fingers pointing downward.
- Turn them occasionally during drying.
Avoid wringing gloves, as this can damage stitching and protective materials.
Step 7: Don't Forget Your Riding Boots
Wet boots can quickly develop unpleasant odours if moisture remains inside.
To dry them safely:
- Remove the insoles if possible.
- Loosen the laces completely.
- Stuff them loosely with newspaper or use boot dryers that don't generate high heat.
- Replace damp paper until the boots are fully dry.
Allow the boots to dry naturally before storing them.
Step 8: Wash Base Layers Immediately
Base layers absorb sweat along with rain moisture.
Leaving them damp inside your riding bag creates bacteria and unpleasant smells.
After every wet ride:
- Wash base layers according to the care label.
- Allow them to dry completely.
- Store them folded in a dry place.
Clean base layers also help your riding jacket stay fresher for longer.
Step 9: Store Gear in a Dry, Ventilated Area
Once everything is completely dry:
- Hang jackets and pants rather than folding them.
- Store helmets in a helmet bag away from direct sunlight.
- Keep gloves inside the jacket or on a shelf.
- Store boots in a cool, dry location.
- Avoid damp garages or enclosed storage boxes.
Proper ventilation helps prevent moisture from building up over time.
Common Mistakes to Avoid
Many riders accidentally shorten the life of their gear by making these mistakes:
- ❌ Leaving wet gear inside a top box overnight
- ❌ Packing damp gear into luggage after a ride
- ❌ Drying gear on a radiator or heater
- ❌ Storing gear in direct sunlight
- ❌ Ignoring damp gloves and boots
- ❌ Folding jackets before they're fully dry
Avoiding these habits will keep your gear looking and performing like new.
A Few Minutes of Care Goes a Long Way
Premium motorcycle riding gear is designed to protect you in challenging conditions, but it also deserves proper care after every ride.
Taking a few extra minutes to clean, dry, and store your gear correctly helps maintain waterproof performance, keeps protective materials in good condition, and prevents unpleasant odours and mould.
Whether you're commuting during the monsoon or returning from a week-long adventure tour, treating your gear properly after a rain ride ensures it's ready for your next journey.
After all, well-maintained riding gear doesn't just last longer—it performs better when you need it most.

Leave a comment
This site is protected by hCaptcha and the hCaptcha Privacy Policy and Terms of Service apply.